Hey!!
This is quite exciting for me, this is Episode 1 in my official Learning Stuff series with the tagline: “Knowing stuff is cool, learning just takes longer”.
The video that accompanies this blog is available here: https://youtu.be/ZKrkkUlssAE
This series is going to go through a set of different attack, defence and general pentesting theories and practicals. The idea is hopefully I can explain things to you in a way that helps, maybe that others haven’t. We shall see!
So first up, before we can do anything specific, we need to build a lab! For this I’m using an ESXi host that I have access too, however the same thing can be achieved by using VMWare on your own machine.
Setting up Lab
I ideally wanted to build the lab using Packer/Terraform/Vagrant however after many hours of trying I always ended up failing, so I’ve parked that for now until I get more time. Hopefully in the future I’ll have a blog about that sort of automation. However for the moment, I am just going to spin up boxes the old fashioned way, however I’ve got a whole bunch of powershell to make it slightly easier.
The hardest bit is choosing the domain, computer and user names. But I always like to theme things, so for this I’ve gone down the Dr Who route! What my lab will consist of for this video is:
1x Windows Server 2019 - TheDoctor

1x Windows 10 - TheMaster

Domain Name: tardis.local

User 1 (Regular user) - Rose Tyler (rose@tardis.local)

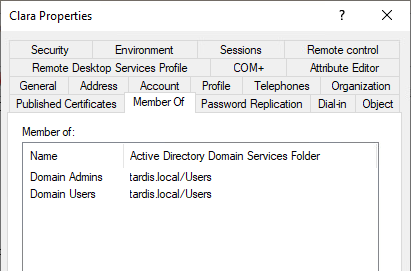
User 2 (Domain Admin) - Clara Oswald (clara@tardis.local)
Firstly go through the normal Windows set up:
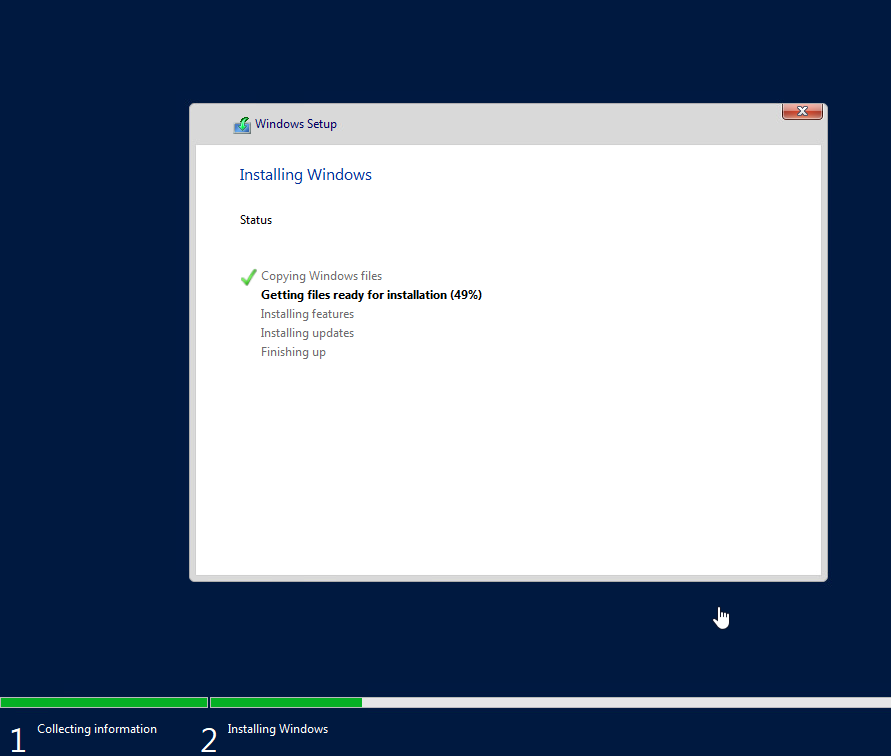
Once both the Server and Win10 machines are booted. We need to set up a few little things. This powershell script will set the Hostnames and IP addresses which will allow the connectivity we need. On the lab I’m using, there is DHCP set-up so I don’t have to set up the IP manually, but I’ve left it into the powershell script for you to use, obviously change the variables to suit your lab.
If you haven’t set up Active Directory before or a lab at all, and want to do it without Powershell, my friend myexploit2600 has written an excellent step-by-step guide.
First up we need to configure the Server and add Active Directory. After that we can sort the Win10 machine.
Windows Server 2019
Setting IP and Hostname
$Interface = "Ethernet0"
$IPAddress = "10.10.20.88"
$DefaultGateway = "10.10.20.1"
$Hostname = "TheDoctor"
New-NetIPAddress –InterfaceAlias $Interface –IPAddress $IPAddress –PrefixLength 24 -DefaultGateway $DefaultGateway
Set-DnsClientServerAddress -InterfaceAlias $Interface -ServerAddresses $IPAddress
Rename-Computer -NewName $Hostname
Restart-Computer
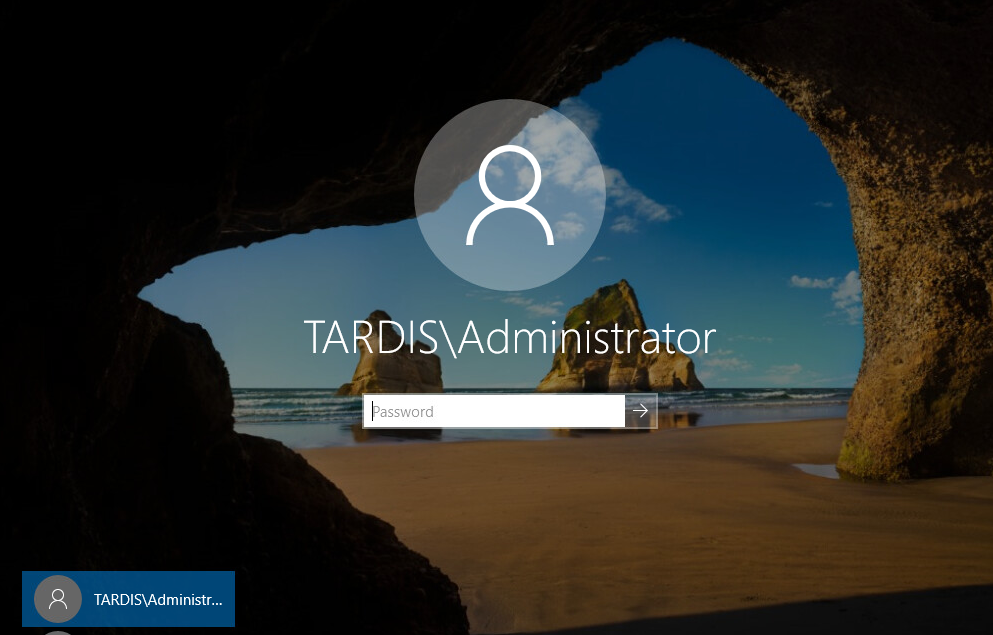
The machine will then re-boot so these changes have taken affect. Re-log into the Server.
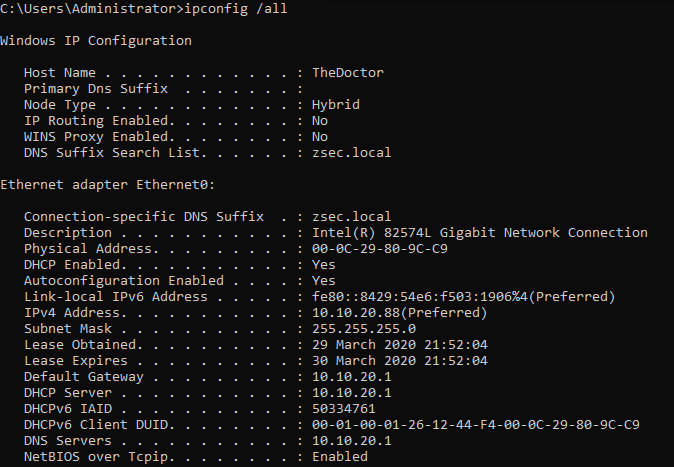
Once we have the correct hostname and network connectivity, we can covert this server into a Domain Controller. It should be noted that this isn’t relevant for this lab specifically and with running responder it’s possible without. However I’m going to use this lab in the future, hopefully looking at some domain based attacks, so I might as well set it up right from the off.
To change the server to a Domain Controller, we need to install the Active Directory modules, again this Powershell script should do it all for you. Just change the domain variables at the top.
Setting up Domain Controller
$DomainName = "tardis.local"
$DomainNetbiosName = "TARDIS"
$SafeModePassword = "!S0n1cScr3dr1v3r1" | ConvertTo-SecureString -AsPlainText -Force

Install-PackageProvider -Name NuGet -MinimumVersion 2.8.5.201 -Force
Install-WindowsFeature AD-Domain-Services
Import-Module ADDSDeployment
Install-ADDSForest -CreateDnsDelegation:$false -DatabasePath “C:\Windows\NTDS” -DomainMode Win2012R2 -DomainName $DomainName -DomainNetbiosName $DomainNetbiosName -ForestMode Win2012R2 -InstallDns:$true -LogPath “C:\Windows\NTDS” -NoRebootOnCompletion:$true -SysvolPath “C:\Windows\SYSVOL” -Force:$true
Install-Module ServerManager
Add-WindowsFeature RSAT-AD-Tools
Restart-Computer
This again will reboot, log back in and we now have a domain up and running!
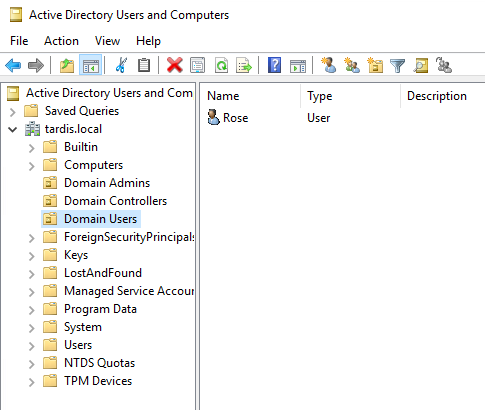
Now all the domain needs is some users. Again I like to stick with a theme! Change the variables to suit your own environment (I know not everyone will want a Dr Who based Domain)
Adding Users
$OUPath = "DC=tardis,DC=local"
$DomainUserPath = "OU=Domain Users,DC=tardis,DC=local"
$DomainAdminPath = "OU=Domain Admins,DC=tardis,DC=local"
$User1Name = "Rose"
$User1GivenName = "Rose"
$User1Surname = "Tyler"
$User1SAMAccount = "rose"
$User1PrincipalName = "rose@tardis.local"
$User1Password = "B4dW0lf" | ConvertTo-SecureString -asPlainText -Force
$User2Name = "Clara"
$User2GivenName = "Clara"
$User2Surname = "Oswald"
$User2SAMAccount = "Clara"
$User2PrincipalName = "clara@tardis.local"
$User2Password = "Imp0ss1ble!" | ConvertTo-SecureString -asPlainText -Force

New-ADOrganizationalUnit -Name "Domain Users" -Path $OUPath -ProtectedFromAccidentalDeletion $true
New-ADOrganizationalUnit -Name "Domain Admins" -Path $OUPath -ProtectedFromAccidentalDeletion $true
New-ADUser -Name $User1Name -GivenName $User1GivenName -Surname $User1Surname -SamAccountName $User1SAMAccount -UserPrincipalName $User1PrincipalName -Path $DomainUserPath -AccountPassword $User1Password -Enabled $true -ChangePasswordAtLogon $false -PasswordNeverExpires $true
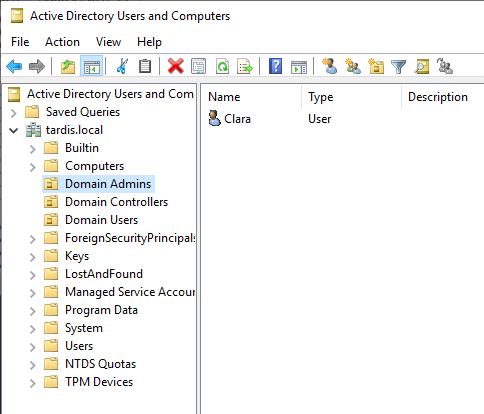
New-ADUser -Name $User2Name -GivenName $User2GivenName -Surname $User2Surname -SamAccountName $User2SAMAccount -UserPrincipalName $User2PrincipalName -Path $DomainAdminPath -AccountPassword $User2Password -Enabled $true -ChangePasswordAtLogon $false -PasswordNeverExpires $true
Add-ADGroupMember -Identity "Domain Admins" -Members Clara
Windows 10
set-executionpolicy unrestricted
Setting IP and Hostname
$Interface = "Ethernet0"
$IPAddress = "10.10.20.89"
$DCIPAddress = "10.10.20.88"
$DefaultGateway = "10.10.20.1"
$Hostname = "TheMaster"
New-NetIPAddress –InterfaceAlias $Interface –IPv4Address $IPAddress –PrefixLength 24 -DefaultGateway $DefaultGateway
Set-DnsClientServerAddress -InterfaceAlias $Interface -ServerAddresses $DCIPAddress
Rename-Computer -NewName $Hostname
Restart-Computer
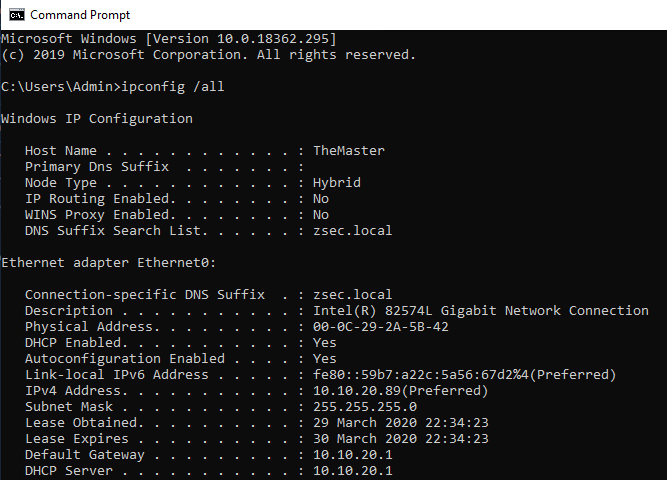
Once that is configured, we need to join the machine to the domain. This will make that connection to give access and be able to log in using the domain user and admin that we created earlier.
Adding machine to domain
$domain = "tardis.local"
$password = "Imp0ss1ble!" | ConvertTo-SecureString -asPlainText -Force
$username = "$domain\Clara"
$credential = New-Object System.Management.Automation.PSCredential($username,$password)
Add-Computer -DomainName $domain -Credential $credential
Restart-Computer
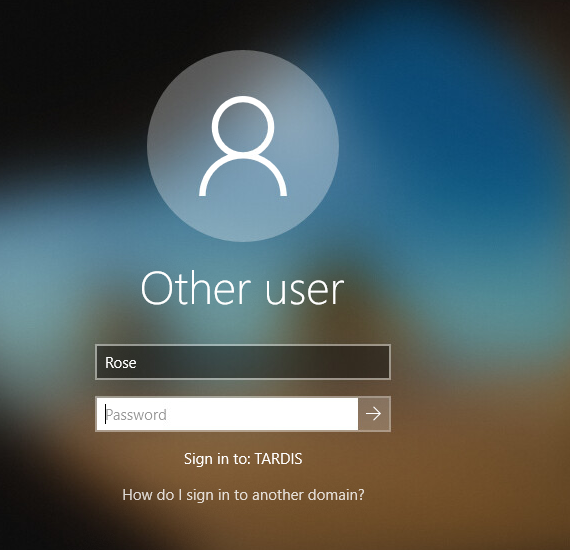
That’s it, we now have our lab set up. It’s bound to grow and evolve over the course of this series, but this is a good place to start!
Next Step!
Next up in Chapter 2 I will look at responder, starting with setting up shared folders, creating a regular task to check the share and capturing some hashes. I’ll also do a deep(ish) dive into the traffic going across the network using Wireshark.
If there are any other attacks you’d like to see me do and explain. Please let me know on twitter.
Hope you enjoyed this and keep learning!!
2 Replies to “Ep 1: Creating a Active Directory Virtual Lab”